Devlog 1: Getting Started
Choosing the Engine & Early Art Direction
At this point, we’ve been looking into which engine suits our game best—especially from an art perspective. It really came down to Unreal Engine vs. Unity, as those were our only real options. In the end, we found multiple reasons why Unreal Engine was the better choice. Either way, with that decision made, we moved on to setting up blockout levels, and feature prototypes.
For art direction, we dug into references and ended up looking at Tiny Glade, Albion Online, and Genshin Impact as our main inspirations. These games have the stylized simplicity we’re aiming for—keeping things visually interesting and cozy, while still being readable and clear for a couch co-op game. Since our game has an angled top-down perspective, it was important that everything stayed easy to read from a distance. We also settled on a forest theme with ruins, which set a nice vibe and worked well within our scope.
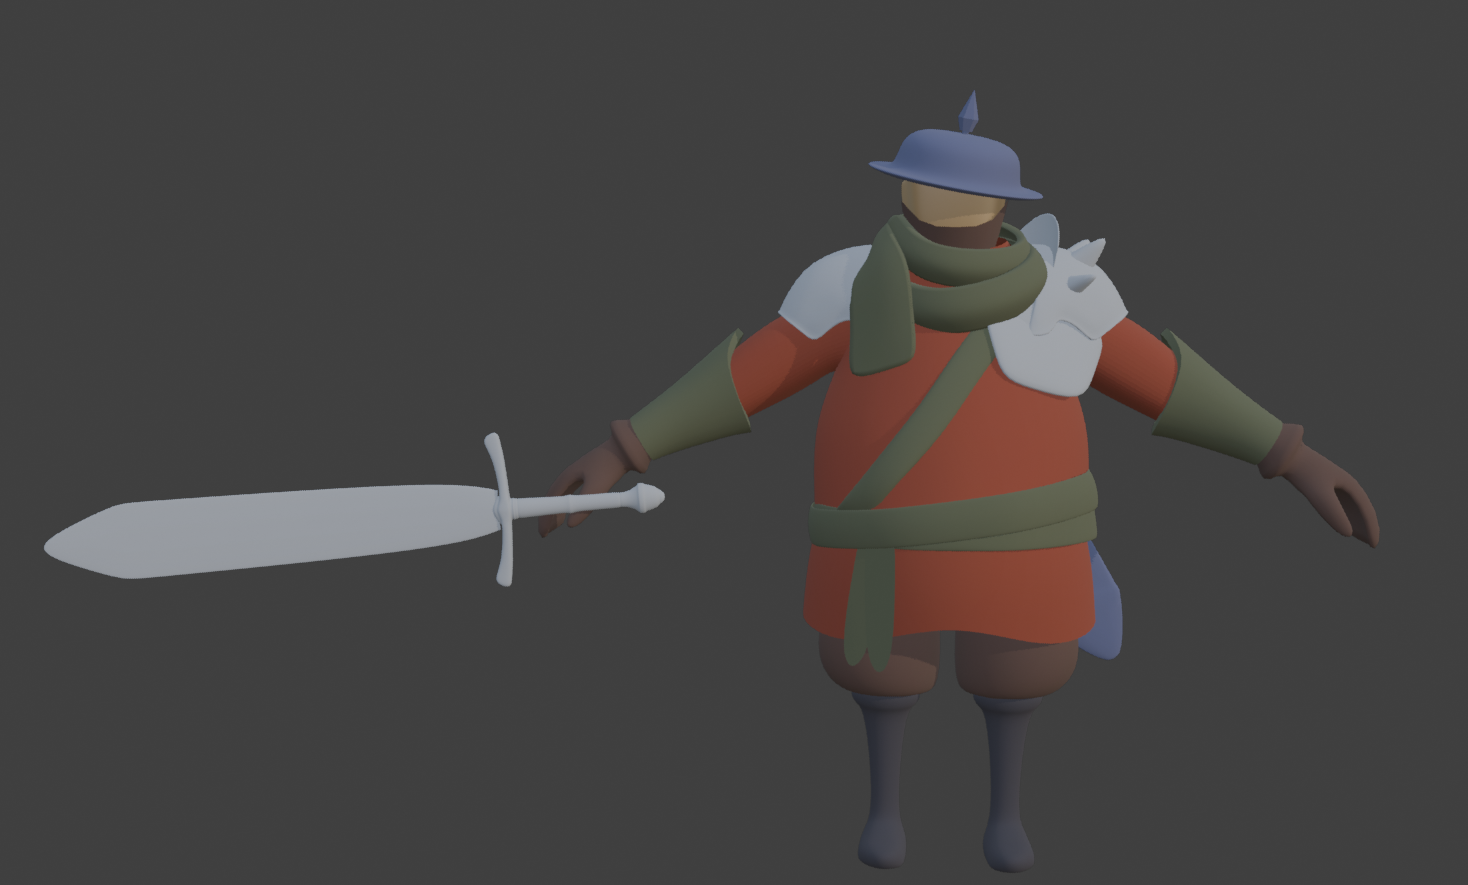
On the programming side we looked into how we would handle animation, local multiplayer and enemy behaviour. All of these things required basic models for differentiation and basic rigging to get started on animations, but with some fast work from our character designer we had a very basic blockout of our character.
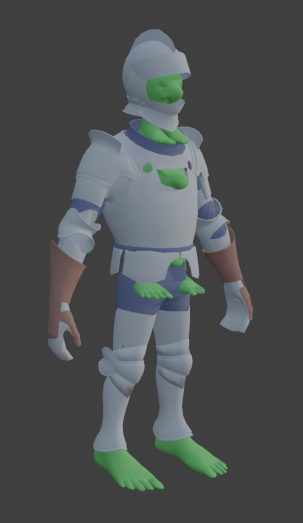
After making this we could start on our rigging and animations.
Level Design Challenges & Blockouts
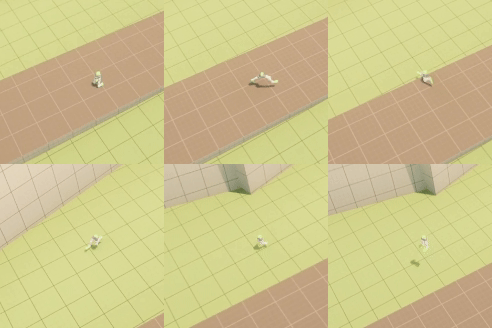
After that, we looked into map references and how to structure a level for a locked camera angle. This was a challenge since we had to balance several factors:
- Elevation adds interest, but too much could make things hard to read.
- Shared screen multiplayer means we need open spaces for fights, but not too open.
- The level should feel small and semi-linear to keep gameplay focused, but not restrictive.
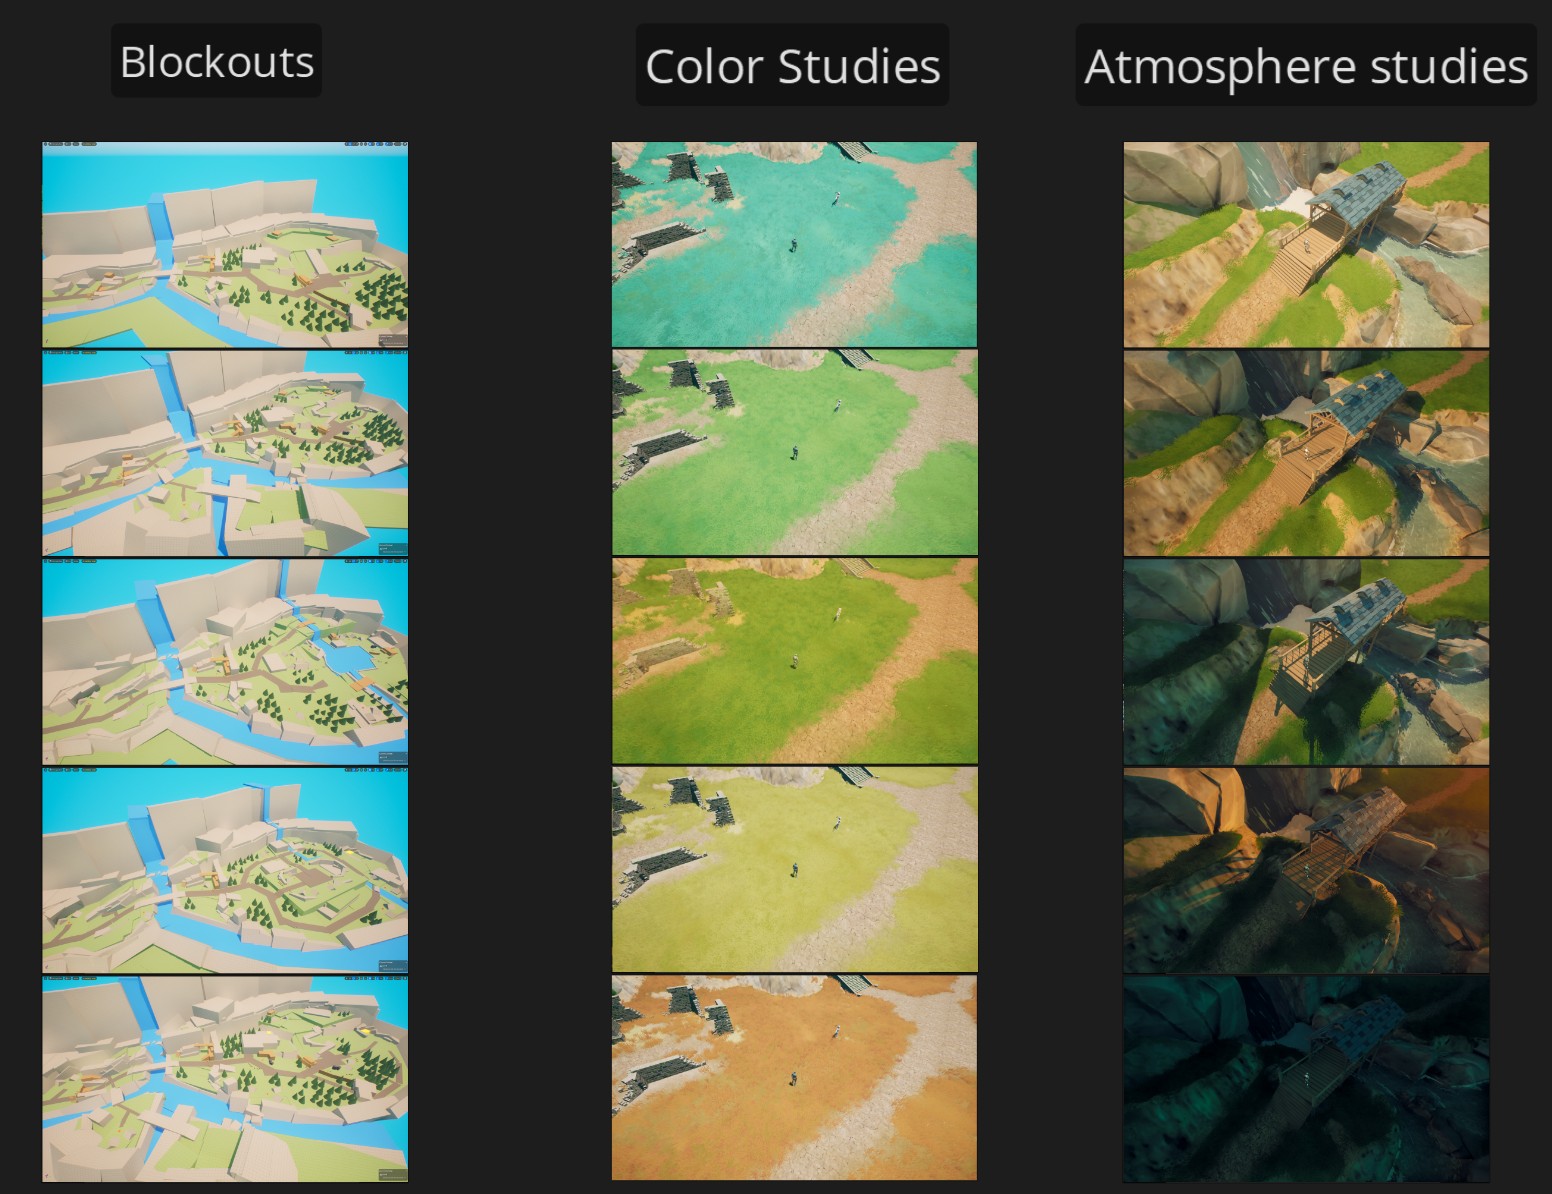
To keep things engaging, we've planned out a few key areas or points of interest for variety. From there, we built a few blockouts, trying to find the sweet spot between "too big" and "too small"—which turned out to be a very fine line.
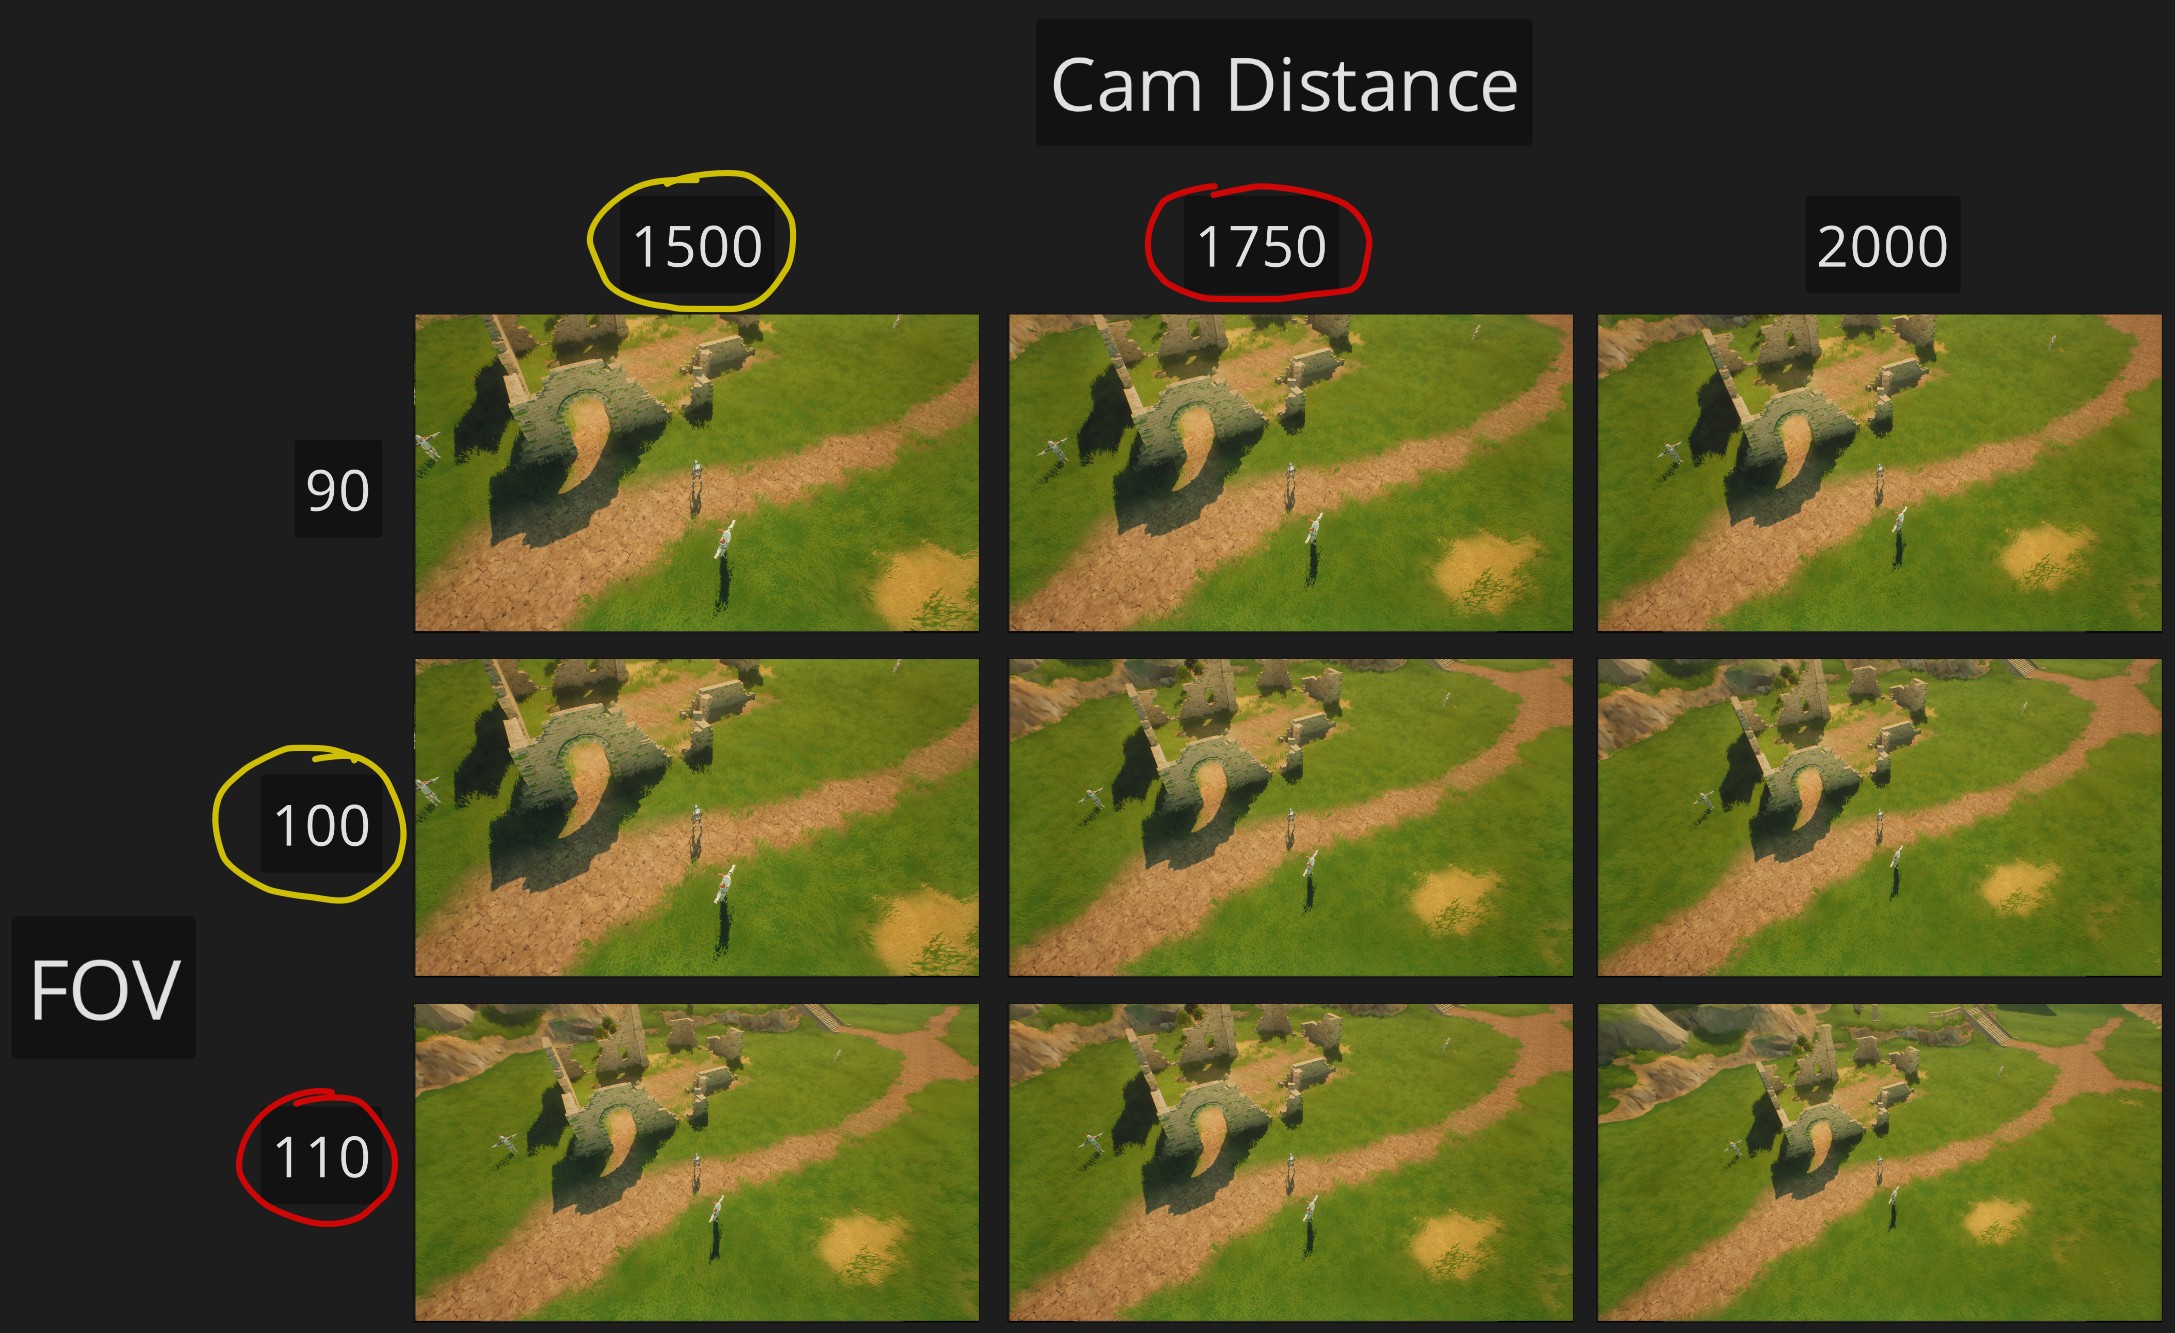
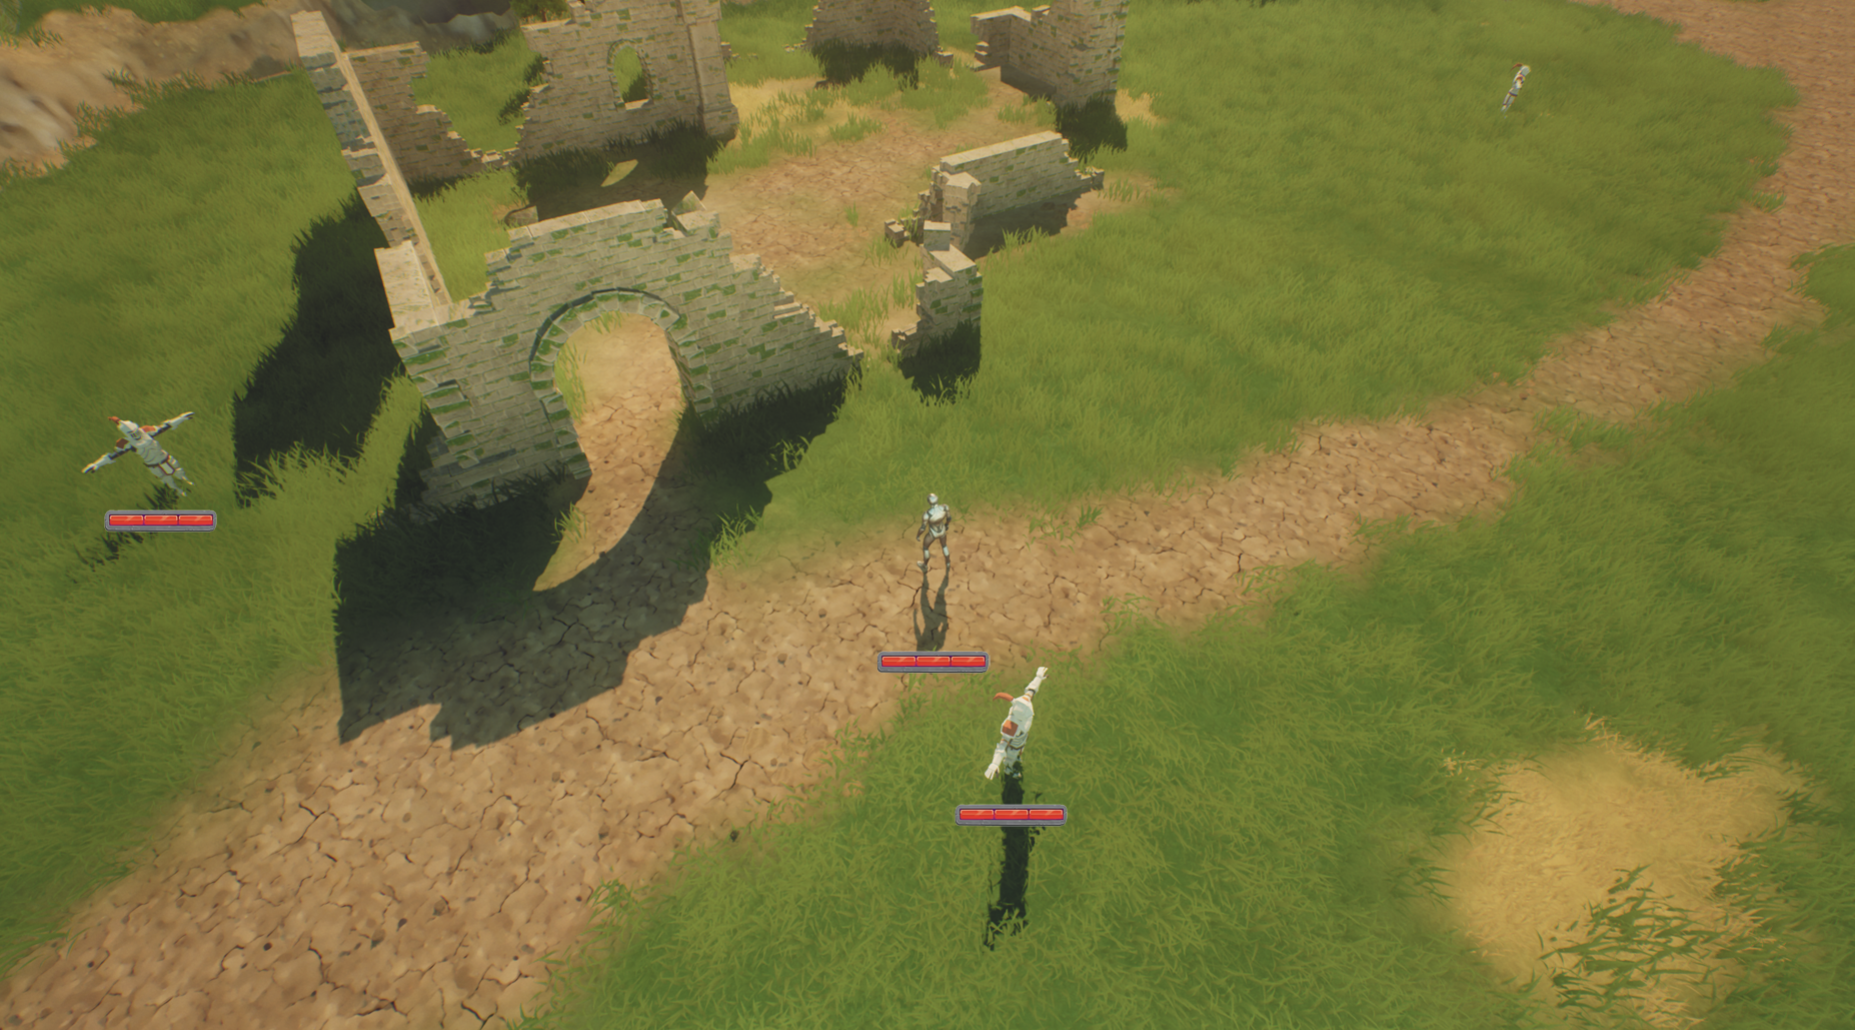
Once we had a basic layout, we started blocking out a more detailed version of the level, adding atmosphere and scale to get a feel for navigation speed and flow. This also helped dial in the camera angle and distance to something that felt natural.
Next Steps
We spent some time doing atmosphere studies, testing lighting scenarios and color schemes to find what best fits the mood we’re aiming for. Next up, we’ll be refining the level further, bringing in more detail and personality so we can start iterating on sound, VFX, and gameplay in a more polished environment. That also means it’s time to make progress on the art bible and lock down more of the visual direction.
Character Development and UI design
This week for character development we put a lot of effort into the characters of the game. We started that by making some basic concept art to get a feel for the shape language.
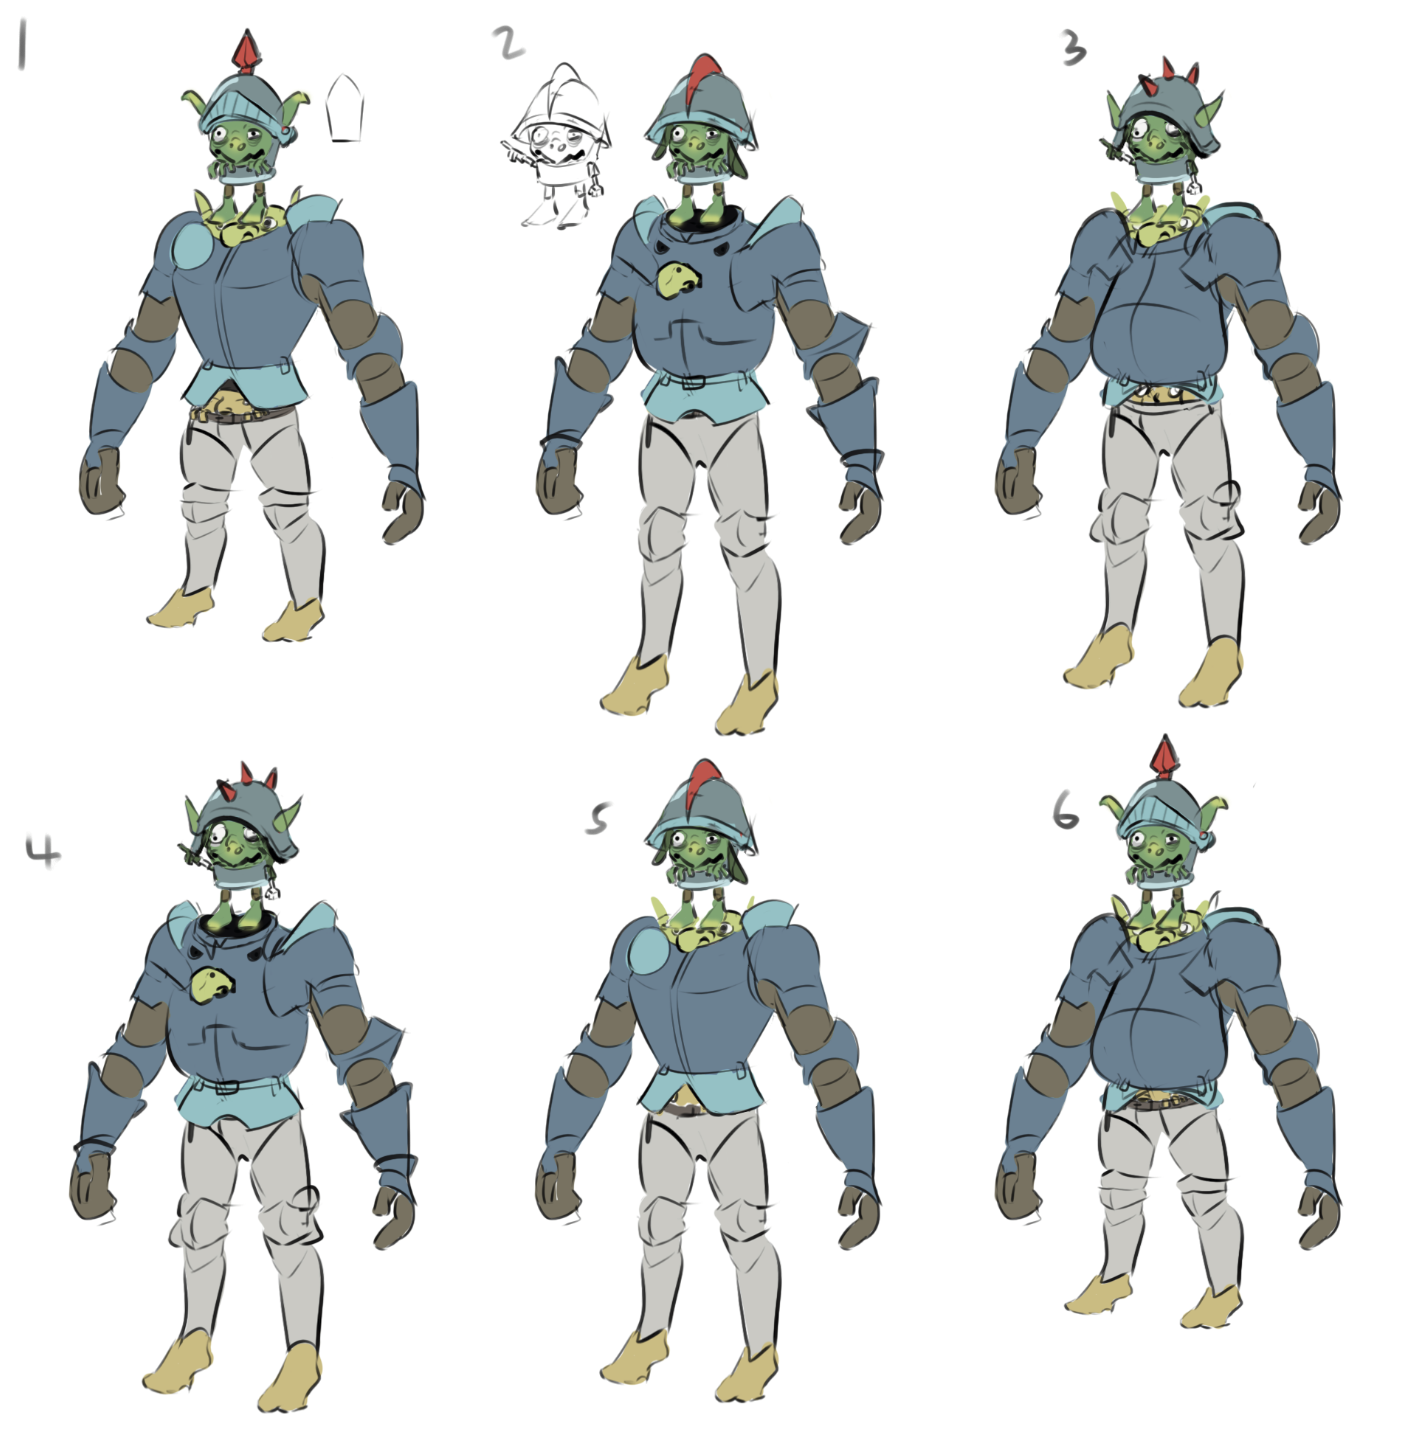
Once the rough idea of the stacked goblins was worked out, we could move onto the enemies. We wanted the warrior bandit to feel heavy, so they where given a big body with long arms to match the goblin. We also played around with different hats, and weapon sizes to check out readability.
After this we also mocked up some UI, like checking where health bars should be, how a pause menu could work and how the player should select levels by selecting contracts from a tavern board.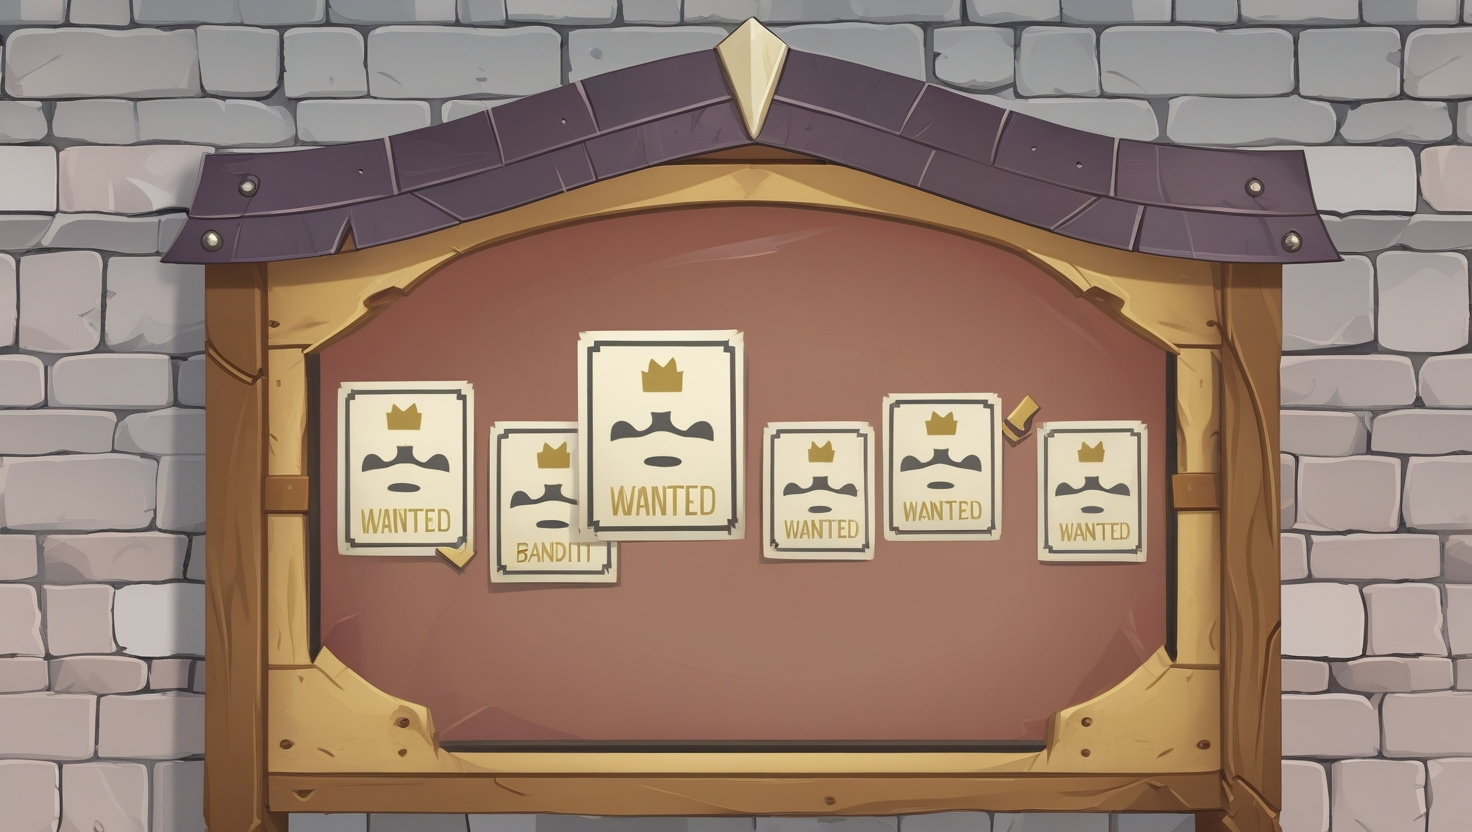
With the time our artists had left, they started working on the art bible to properly define our stylistic choices.
The Making of The Prototypes
While the artists put in their side of the project, the programmers also started working on their prototypes. The first big project was having the multiplayer working and getting a start on our enemy and fight logic. When these were done, we went into integration hell. Making the different prototypes work together is a whole challenge upon itself, which is the next task upon our list.
We wanted the characters to feel like different bodies connected to each other so we thought that using the physics animation component of unreal would help us with that. The physics animation would make it so we can have a ragdoll character blend with animations so it can perform animations that interact with the environment.
With the rigged model that the artist gave we had to make physics asset. These physics assets are the most important part of the physics animation component. We need to have the right collision and the right constraints set up.
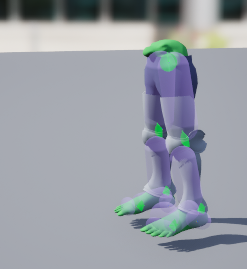
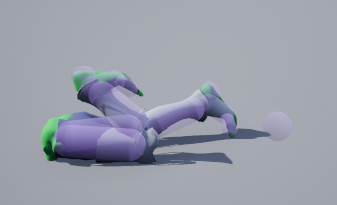
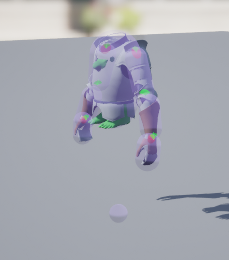
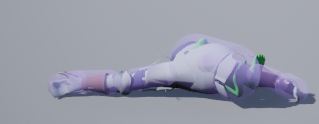
After making the physics asset we needed animations of course. We decided to make the animations in unreal using the level sequencer to make the animations. Because were working with physics animation and the goal is to make the characters look goofy and cartoony, we don't need great animation skill. However after animating we realized that we will probably need a control rig to add to our rig. It's hard to tell how the constraints on the character are set up when animating so setting up control rigs should help us.
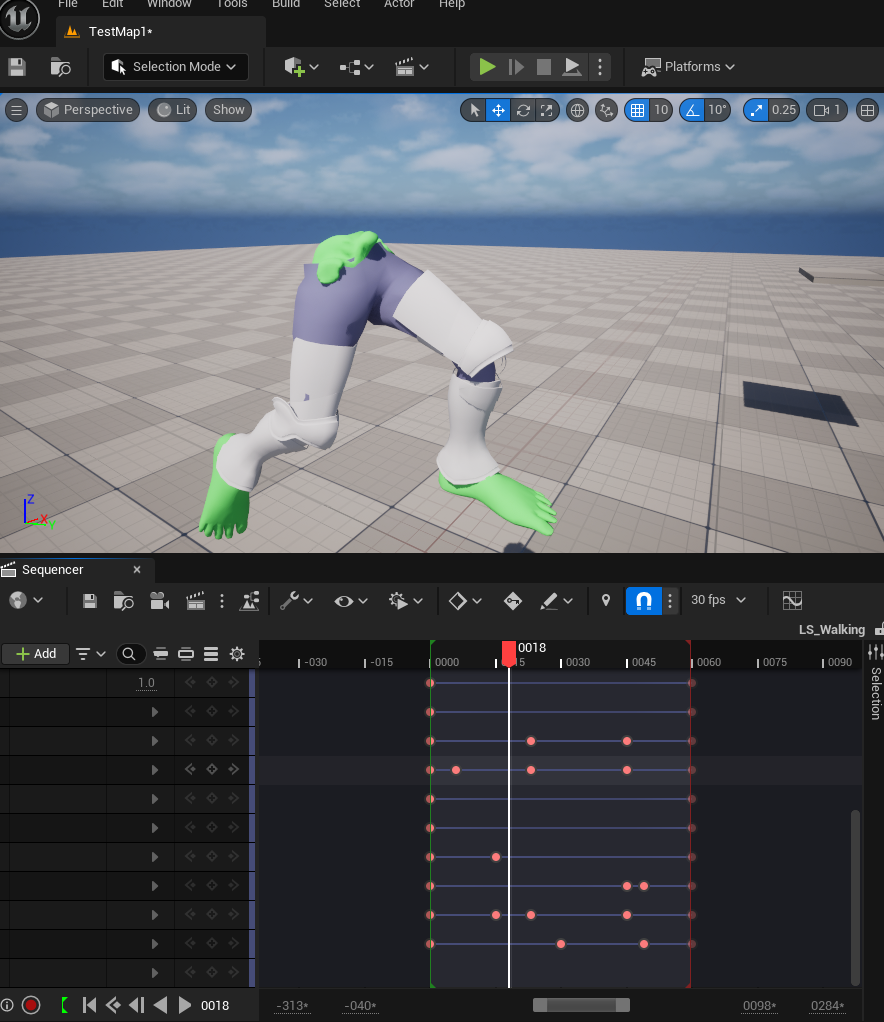
We save the animations as animation sequences and use them in the animation blueprints. After making the state machines we need to code the movement and rotation so our character can traverse the world. We use forces and impulses to move the character so we don't control the positions directly. We could easily change this if this would cause issues (which it shouldn't) to make it more position based instead of physics based. Using animation notifies we call these functions on specific frames to move the character. So after linking everything together and setting all the data that the physics of the ragdolls need such as angular velocity, linear velocity, etc. , we are finally finished and can start tweaking the setting. This will probably be the most time consuming because finding the right values can be hard. The constraints need to be perfect, the mass of each bone should be logically applied, setting a max angular velocity to each bone, etc.
Luckily unreal engine's physics components helped us make this relatively easy to make. Although the documentation could have some more information about specific functions and how they work.
First Steps for Sound
This past week, our primary focus in audio was defining the game's sound palette. Key questions such as "Should the sound be realistic or stylized?" and "What overall mood should the audio convey?" guided our decisions. Our current idea is to have an immersive ambience, combined with some goofy, playful, stylized and exaggerated sound effects to fit the art of the goblins and enemies. We developed a sound bible to establish the desired style and began gathering extensive references for goblin sounds, ambience, music, abilities, UI, and more. Our sound designer studied the audio design of games like Zelda: Breath of the Wild, Genshin Impact, and Angry Birds, among others. Additionally, they created a provisional audio asset list to have a quick overview, which will be updated as the project progresses.
To align the team’s vision, our sound designer started working on a sonic moodboard, creating rough sound sketches for key locations such as the main menu/tavern, forest and bandit camp. This will serve as a valuable communication tool for the team.
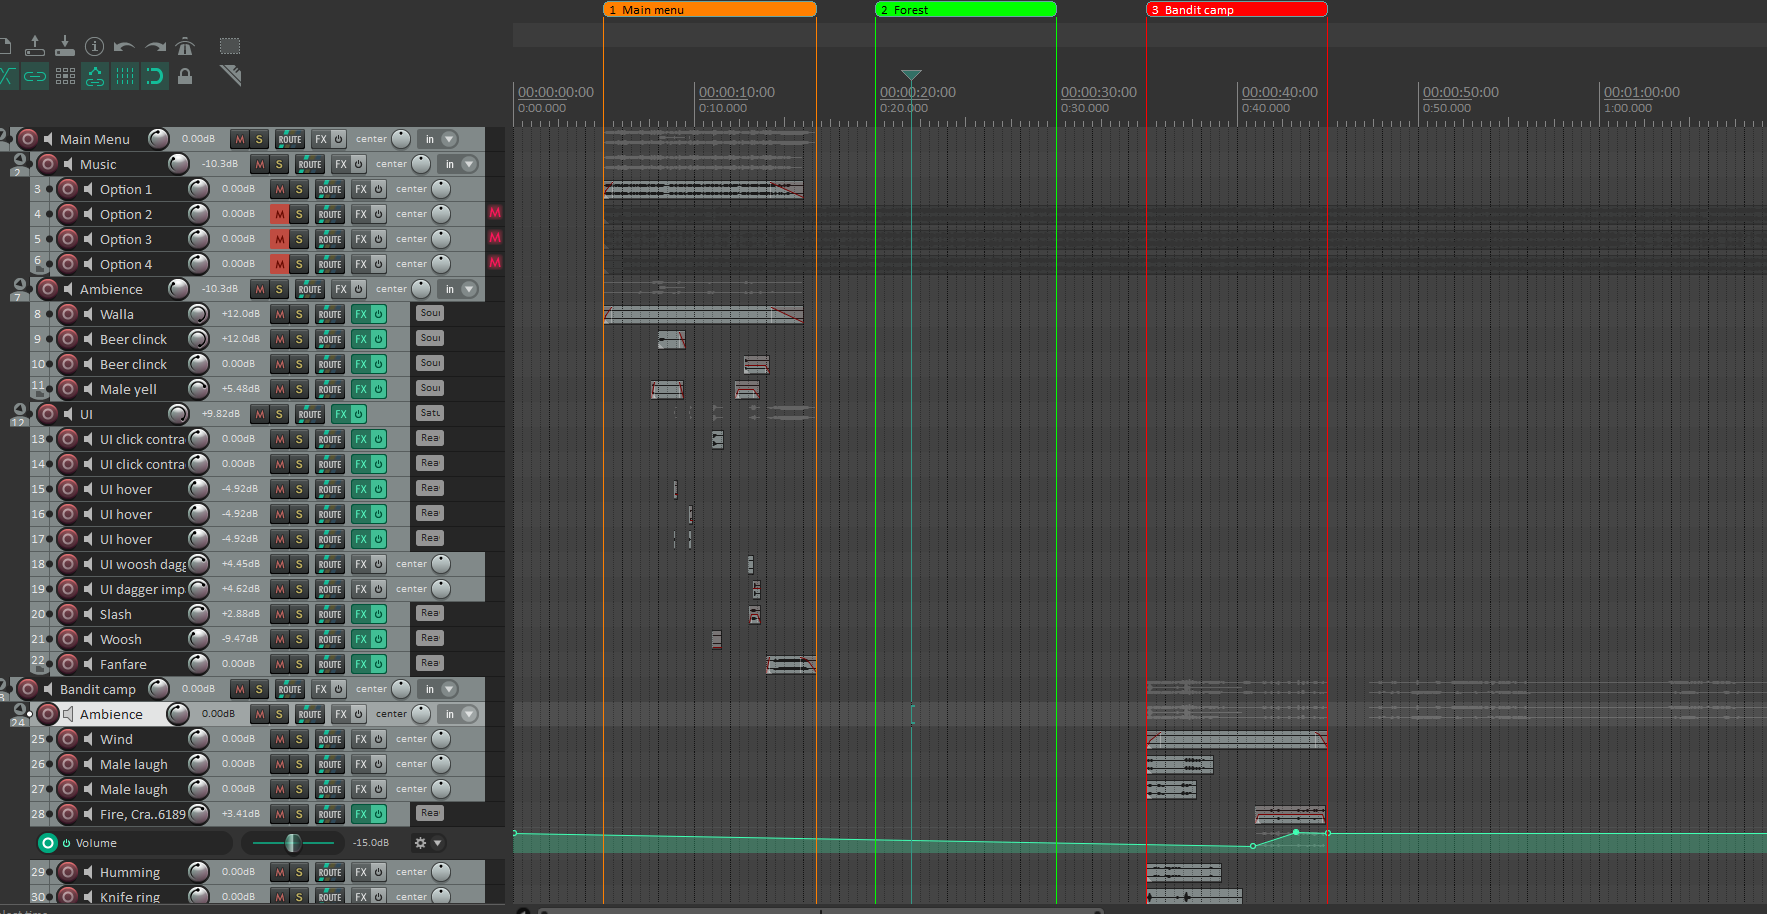
For next week, the goal is to complete the sonic moodboard, further refine the sound bible, and develop at least one audio implementation prototype in Unreal (e.g., dynamic music or dynamic ambience).
Get GobGob Knight
GobGob Knight
Three goblins set out on a righteous quest to find the holy grail in the name of... shiny.
| Status | Released |
| Authors | lazage, BudgetArms, Hassan125, mbilmis, MagTellmann, DanickB |
| Genre | Adventure |
| Tags | 3D, Beat 'em up, Co-op, No AI |
More posts
- The Final KnightMay 25, 2025
- Devlog 10 - Spit, Polish, PanicMay 19, 2025
- Devlog 9: Ferns, Forts, and Financially Irresponsible BanditsMay 12, 2025
- Devlog 8 - Another challenger approachesMay 06, 2025
- Devlog 7 - begin of second sprintApr 28, 2025
- Devlog 6 - End of the first sprintApr 21, 2025
- Devlog 5 – AI Uprising BeginsMar 24, 2025
- Devlog 4: Byte-Sized BeginningsMar 17, 2025
- Devlog 3; the Prototype SprintMar 10, 2025
- Devlog 2: Right on TrackMar 03, 2025
Leave a comment
Log in with itch.io to leave a comment.